
Casa Cake Mama: Building Our Dream Kitchen with Ikea - Part 3
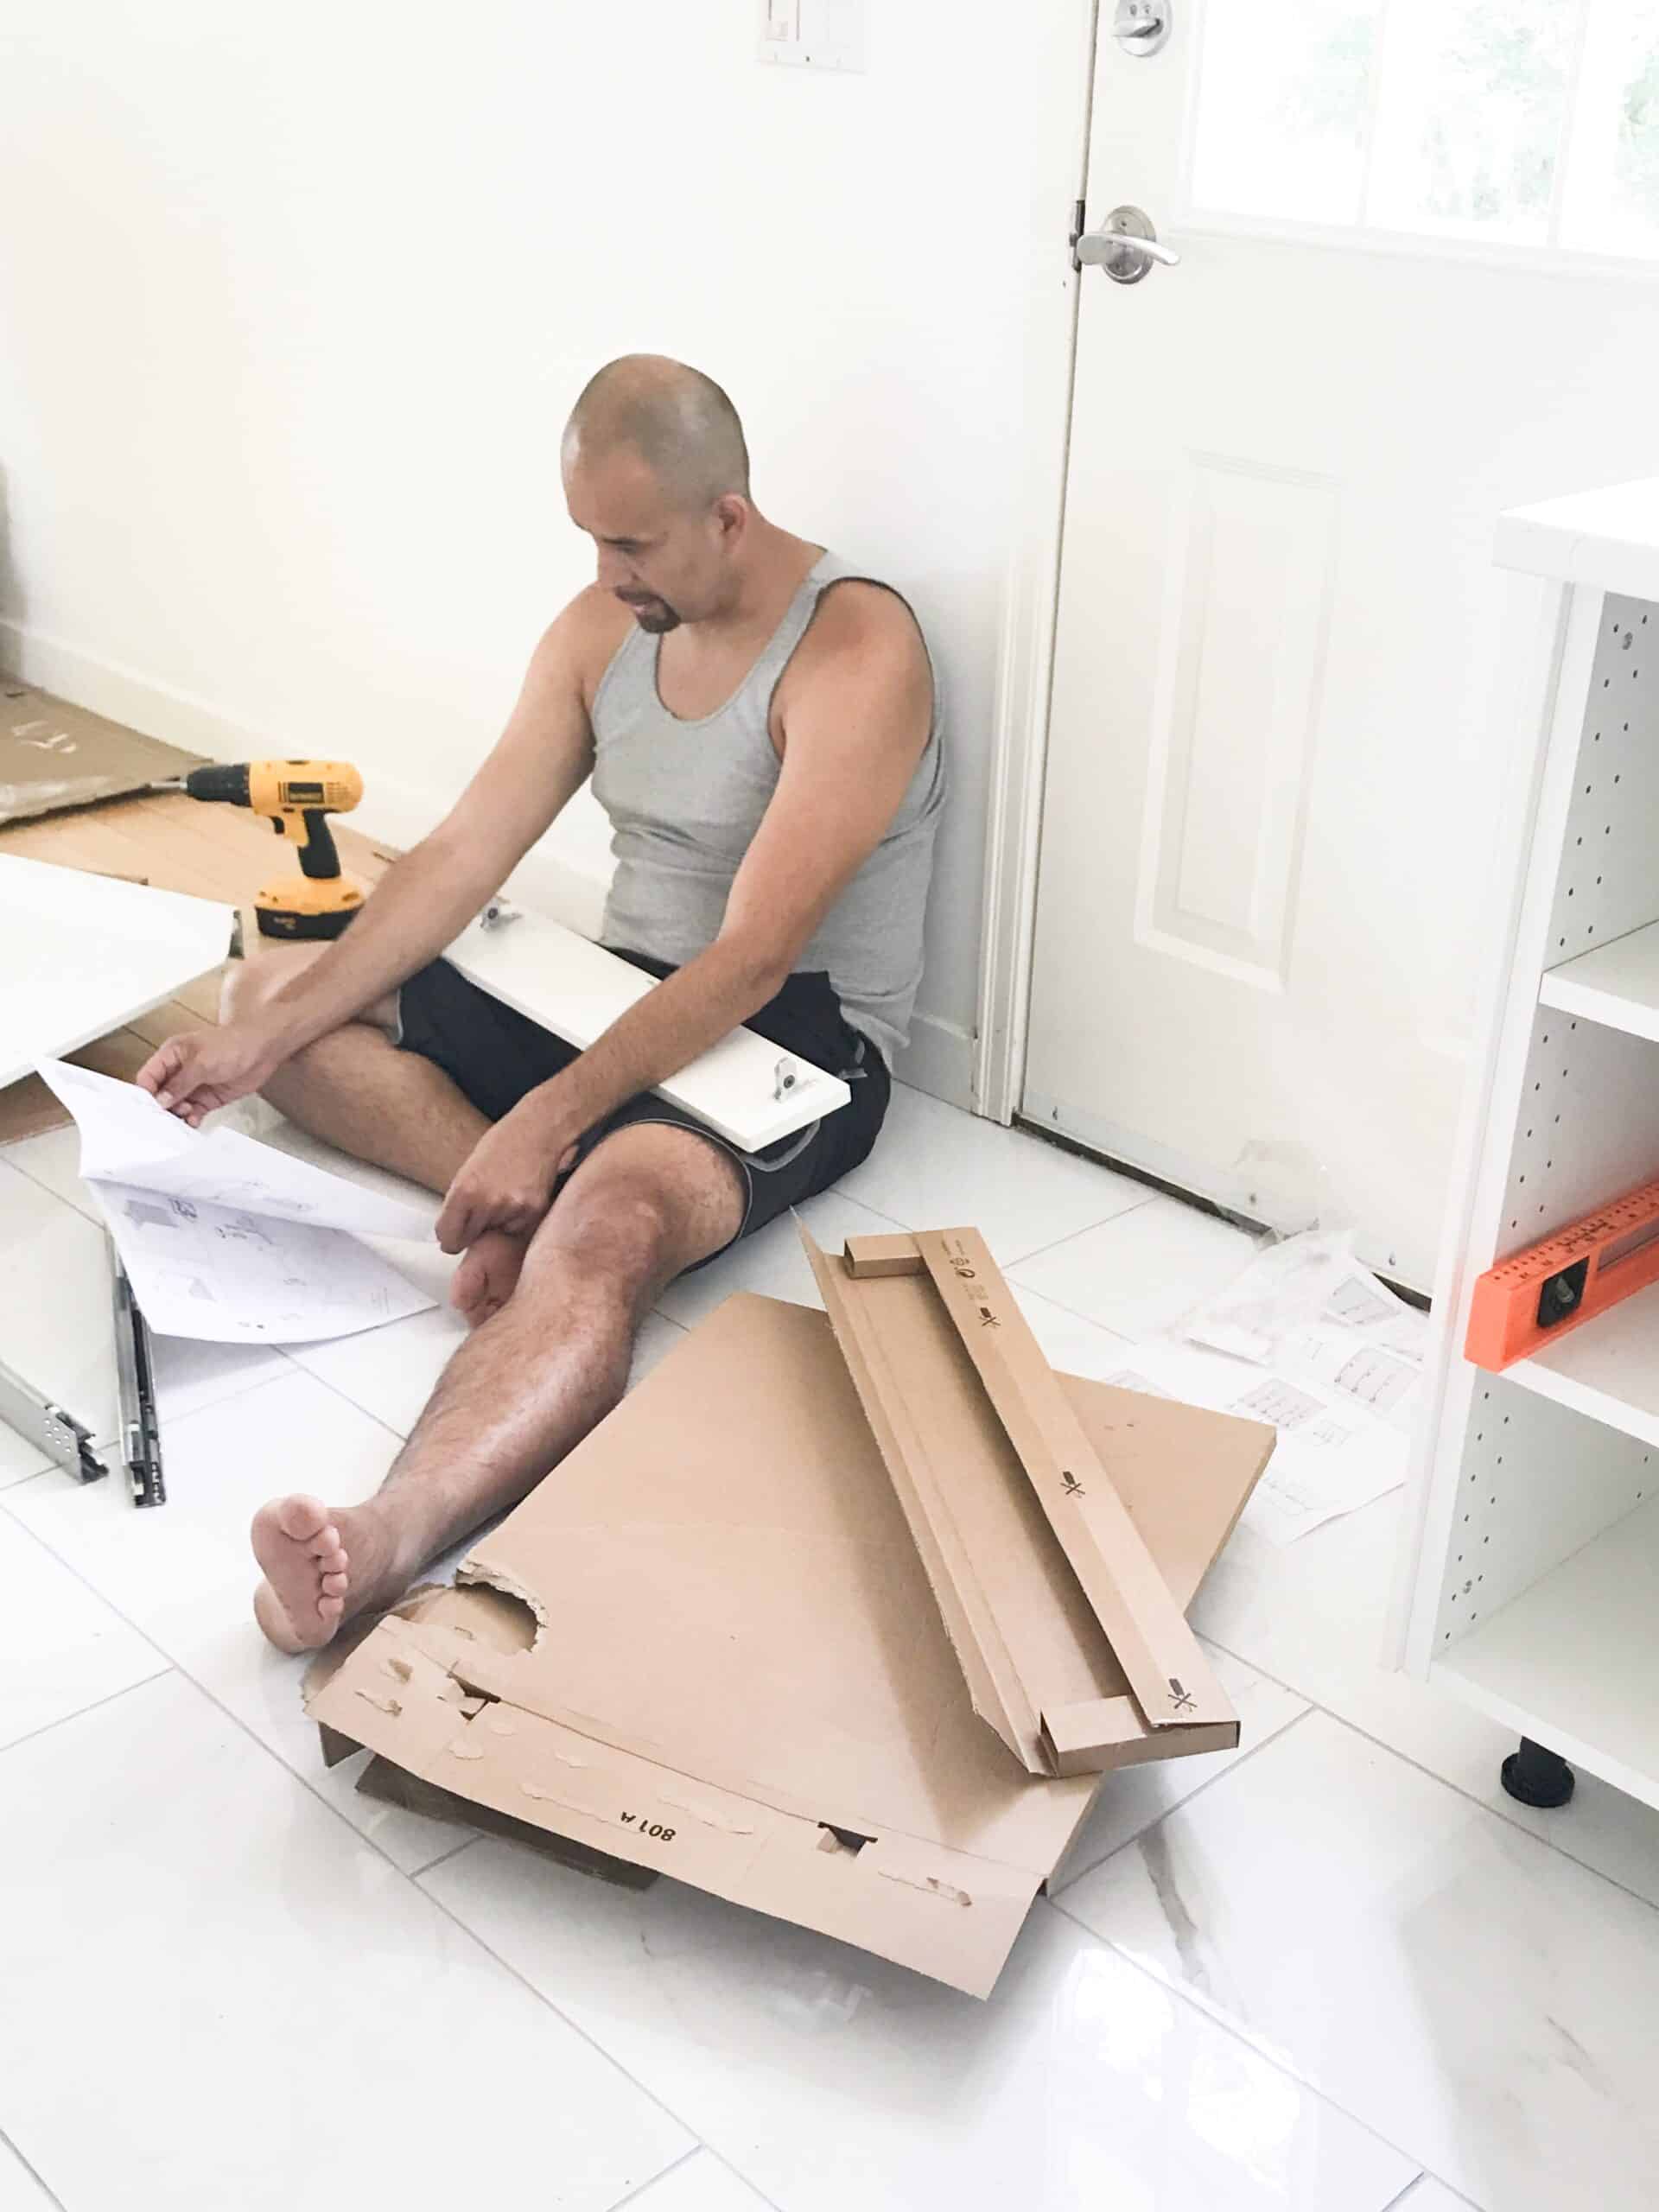
Today’s post is probably the most exciting part of the IKEA Kitchen installation process: ACTUALLY installing your kitchen! I’ll tell ya, seeing a kitchen you designed on a computer to having it all come together in real life is so incredibly rewarding. If you watched my Q & A session on Instagram, you’ll know that we built our kitchen around managing a household with 3 kids and a slew of other projects, so getting to the point where our cabinets weren’t just hanging around the living room was a huge sense of accomplishment!
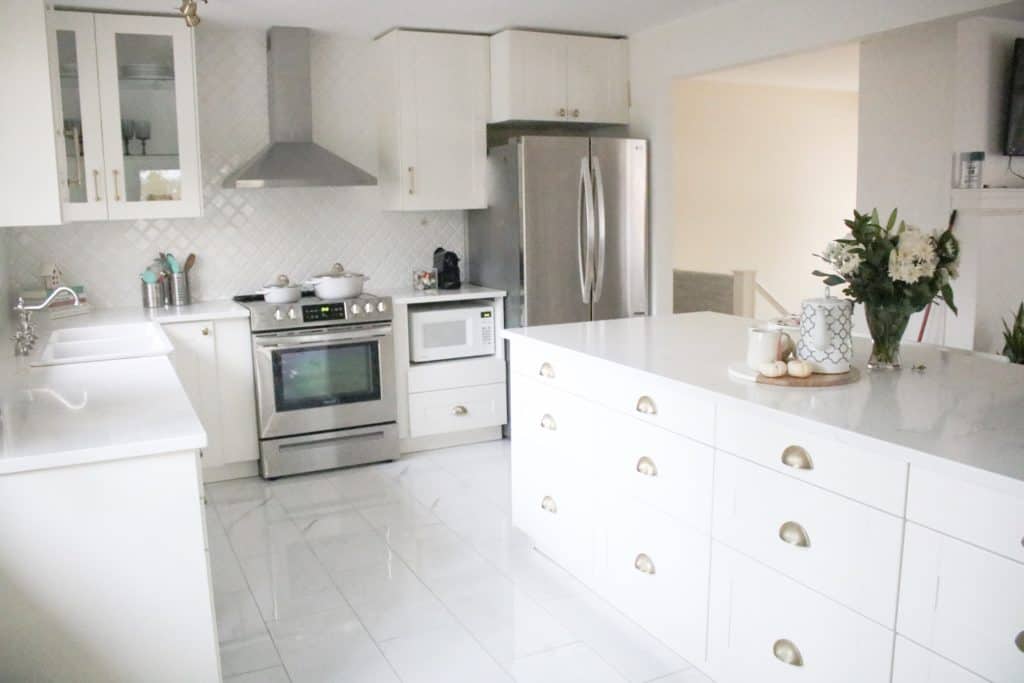
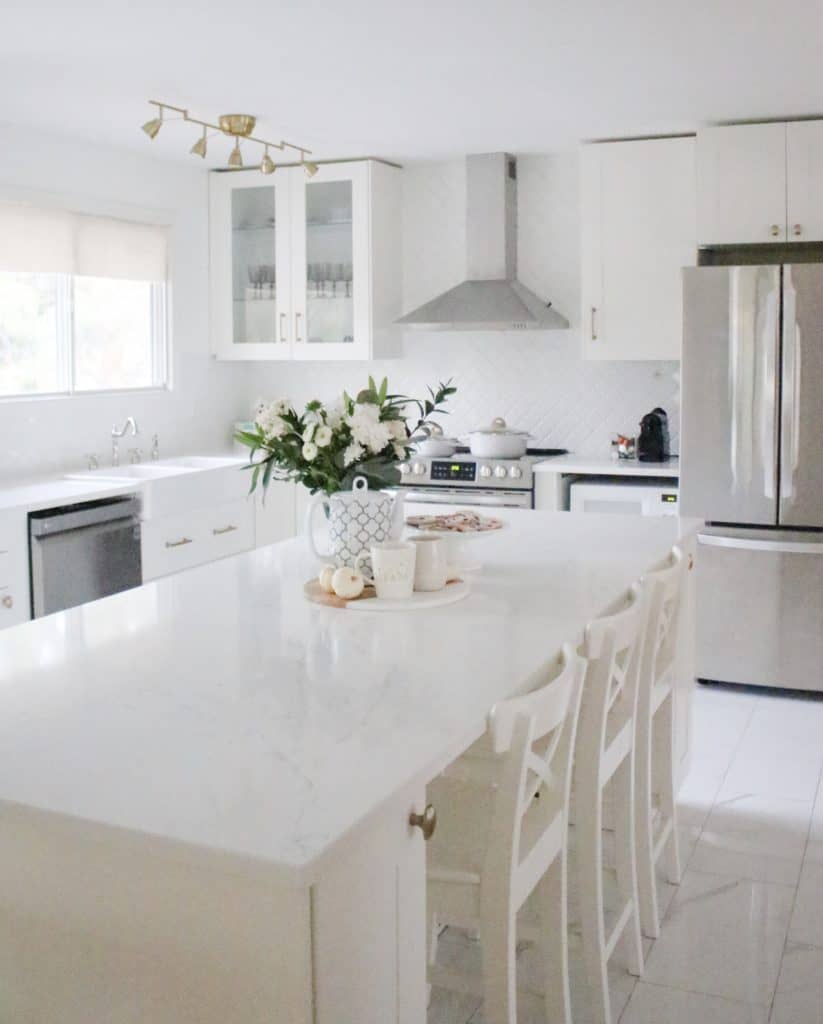
In my final post about our journey to assembling our kitchen, I’m sharing how the cabinets were installed, what the finishing pieces are and how they complete the look and a 360º look of our entire kitchen!
Installing The Cabinets & Island.
Once our kitchen floors were installed, it was time to prep the walls to secure the track system that the cabinets hook on to. It’s important to check that your floor is completely level to your wall, otherwise you’ll measure the height from the floor to the top of a cabinet and realize after you’ve screwed holes into your walls that your floors are uneven. (It totally happened!)

After you’ve figured this part out you’ll want to use a stud finder to ensure that at least one of the screws you secure the track with is screwed into a stud. This is more important for the wall cabinets as they are suspended and have no other means of leverage, whereas the base cabinets have height adjustable legs.
Hot tip: In instances where you’re only installing one wall cabinet and require a shorter track, cut it at least 1/4” smaller than what you need in case once you’ve hung the cabinet, you’ve realized you need to slide it further to one side because of spacing. This will ensure that you won’t have a large piece of the track sticking out on one side because of the shift.
If you’re installing a cabinet next to a wall, you’ll want to make sure you give at least a 2” clearance for the cabinet door, otherwise it will limit the range of motion and likely slam into your wall.


You’ll also want to enlist the help of a level to ensure that you’re completely level before securing the cabinet with the provided screws. The instructions will also show you ways to install without the track, in which case, it’s most ideal if you’re securing into studs and not an anchor.
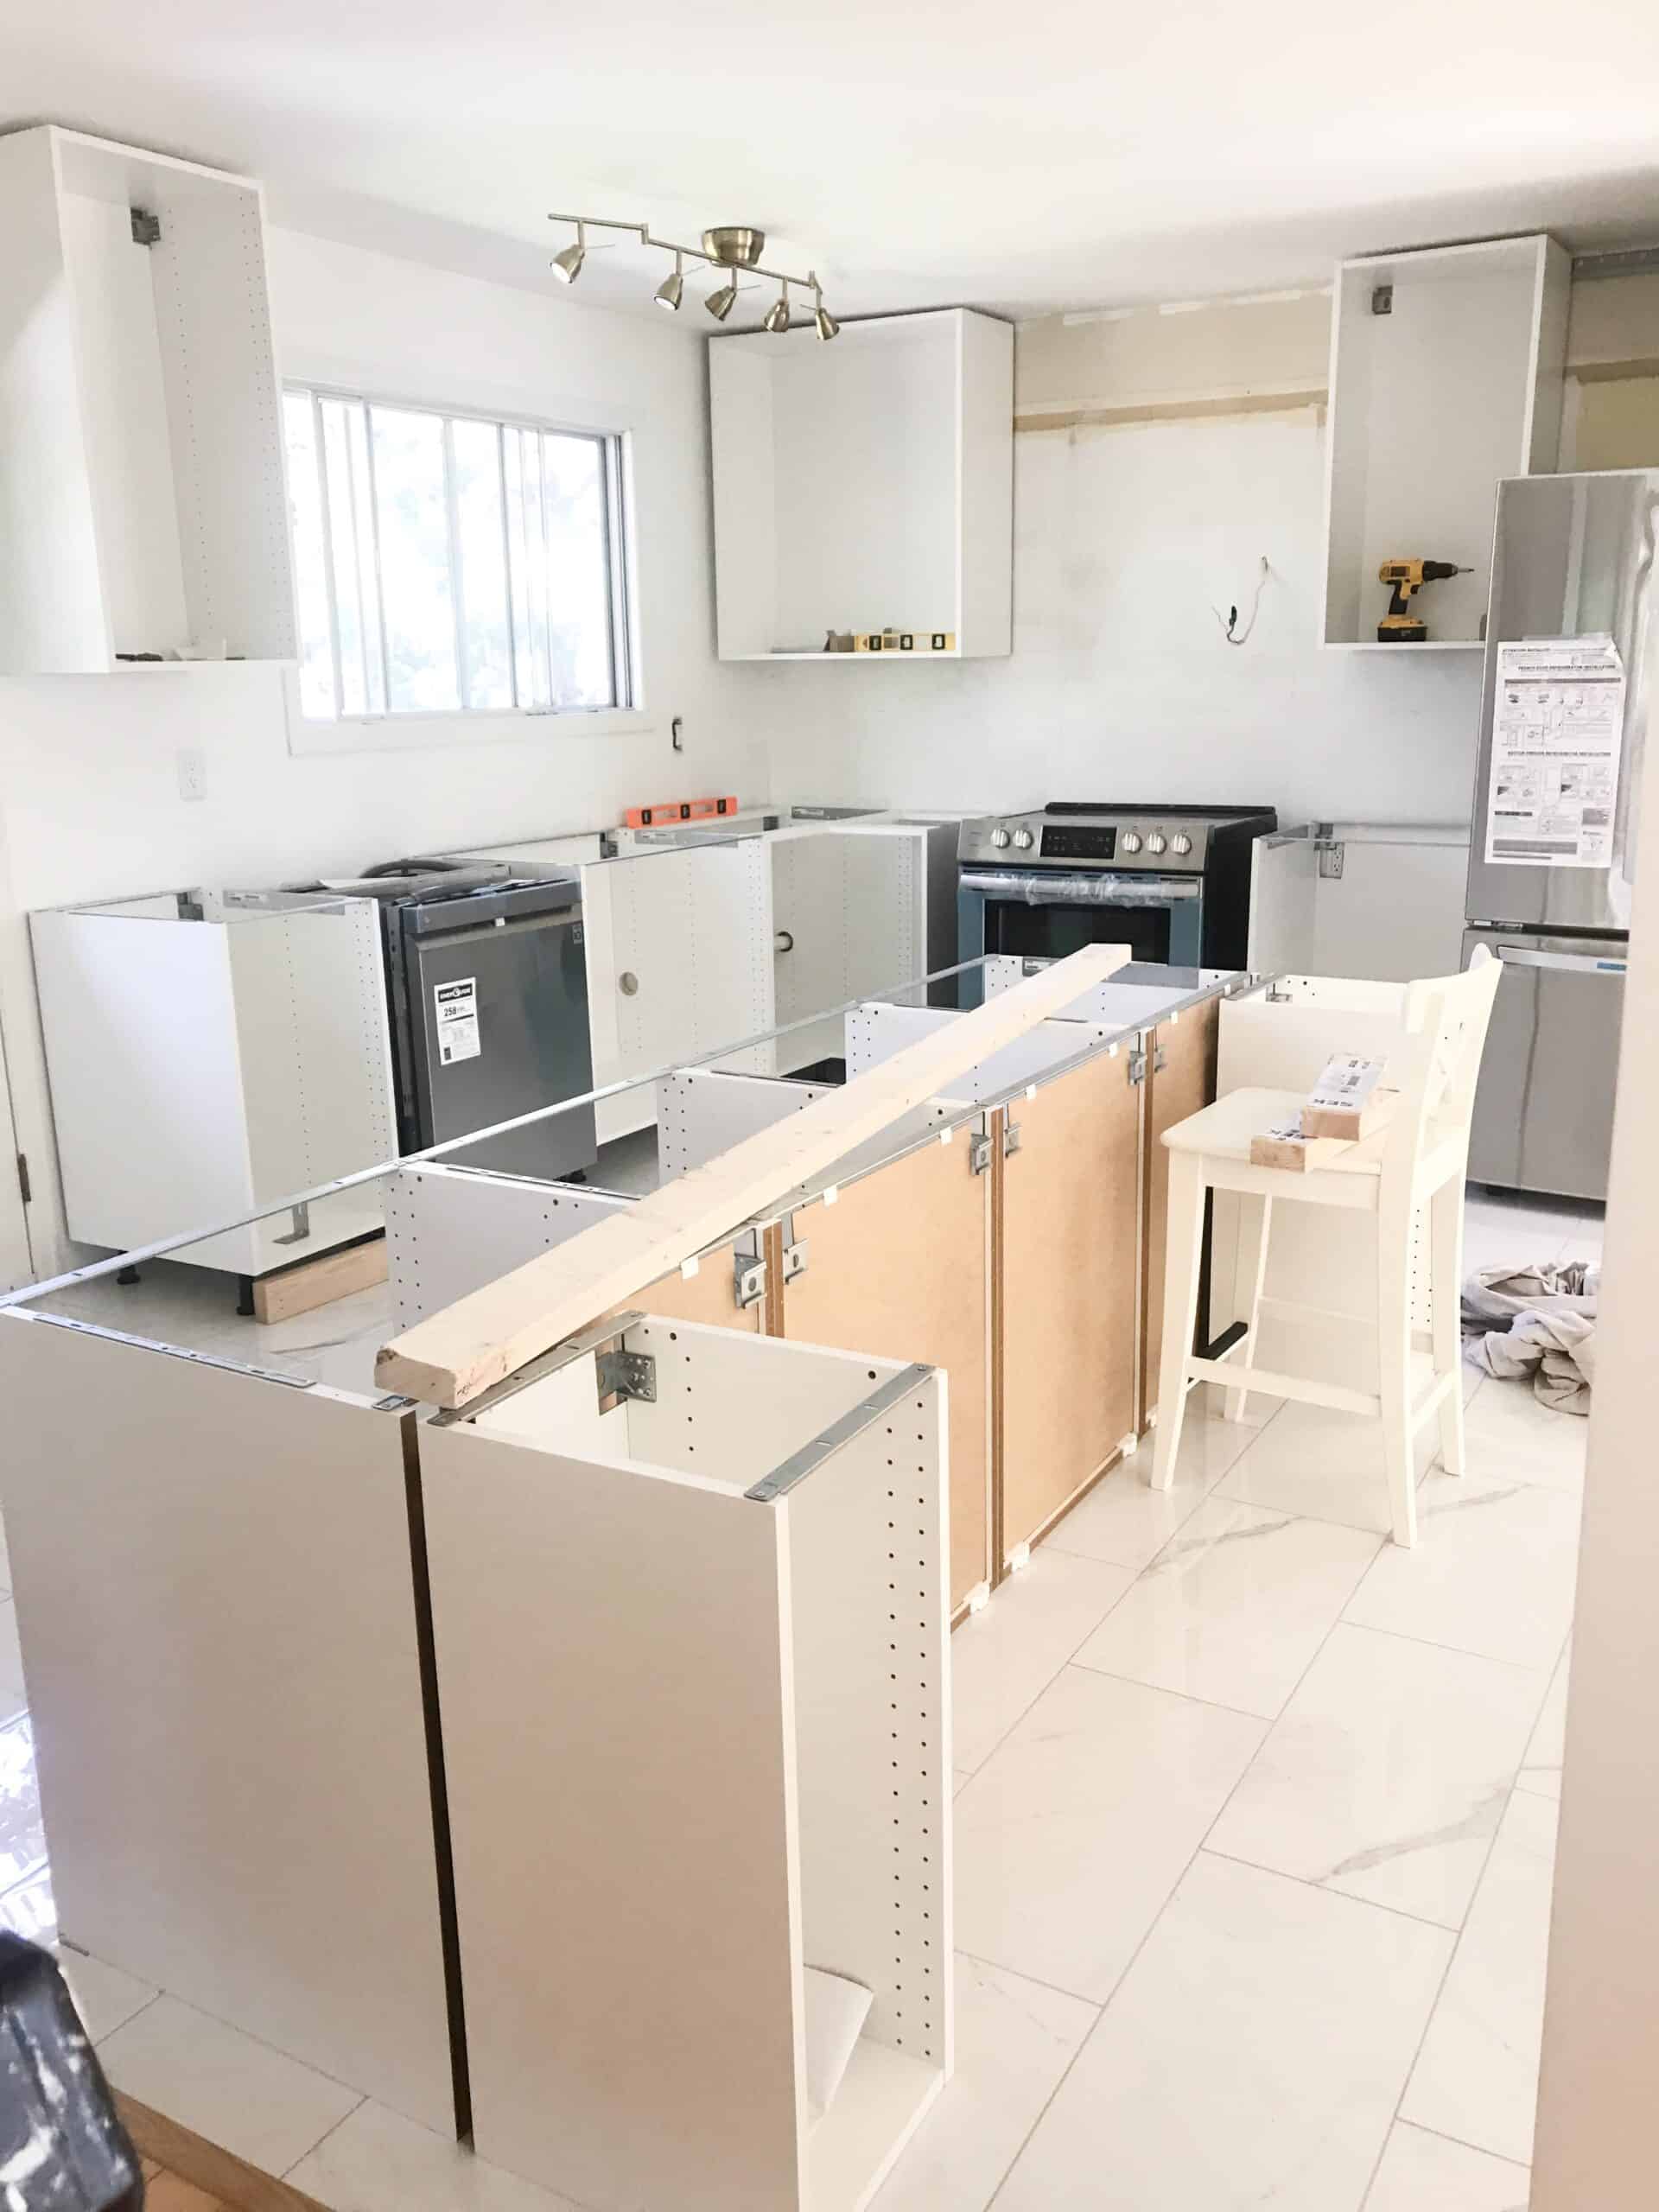
Now that your track is in place, its time to hook on those cabinets! It was a glorious moment for us!! Our kitchen was finally coming together and we were just itching to see it all completed!


With our island, it required a few extra steps- one being that we had to buy a diamond drill to pre-drill holes into our tile to secure the cabinets down. You might be wondering what exactly makes the cabinets any more special to design an island? Nothing! They are nothing more than base cabinets that are assembled individually, then secured together side by side, then back to back and then to the floor.
We pulled some design inspiration from the IKEA Kitchen show room at our nearest IKEA and loved the idea of having some smaller cabinets on either side of the bar stools. The original design was 6 feet in length and only fit 2 chairs. We knew that we wanted something that would fit all three of our kids so we went for an 8 foot island; adding an extra 2 feet of cabinetry which meant more storage!
When the base cabinets were arranged, we spent a bit of time playing around with the placement of our island. We knew from previous kitchen situations that we did NOT want a kitchen that felt tight anywhere, so it was important that we had enough distance between the fridge, oven and dishwasher to have them open and not have to trip over each other. Once we were happy with the distance, it was time to secure the island to the floor. IKEA includes blocks of wood with some brackets and screws to use to secure the bottom of the cabinet to the block which is then secured to the floor. This was (I think!) the most stressful part of the this whole installation. My husband has always been a handy guy, but this stuff was next level!
Very carefully, he drilled a couple of holes per block into the floor and before we knew it, the basis of our kitchen was completely installed!
Adding the Finishing Pieces.
Likely the most tedious part of putting together kitchen cabinets are the drawers, however, once you’ve assembled one, you can assemble them all with ease. We have 16 drawers in our kitchen and I think it’s safe to say we were pretty stoked when they were all done! LOL!
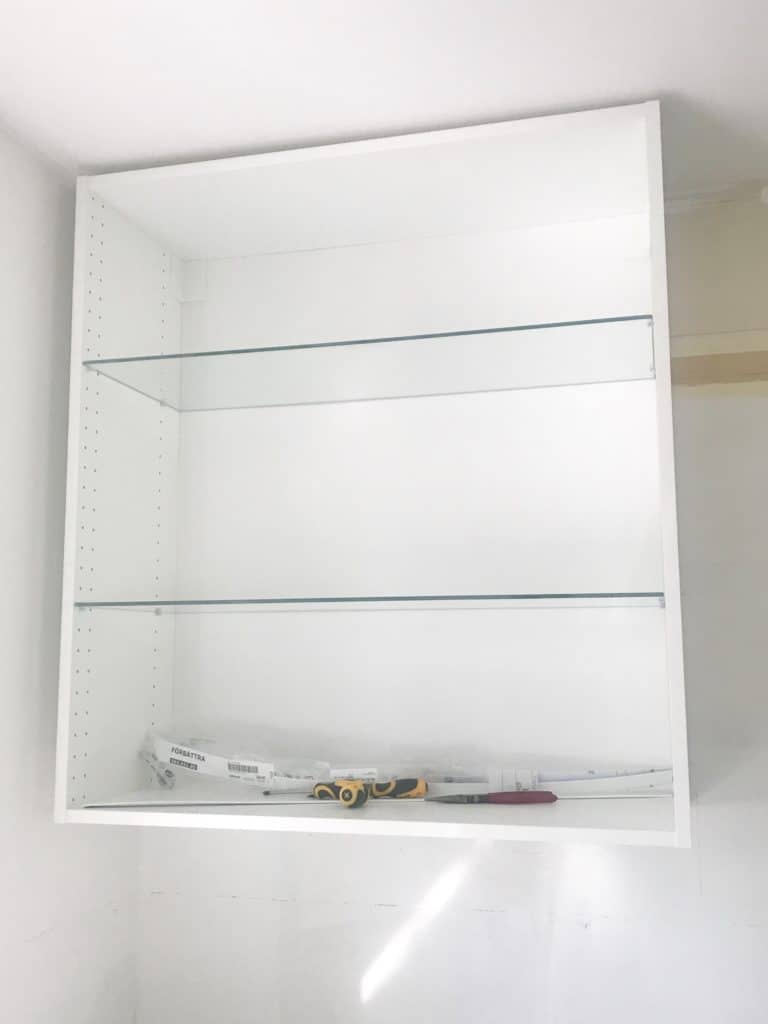
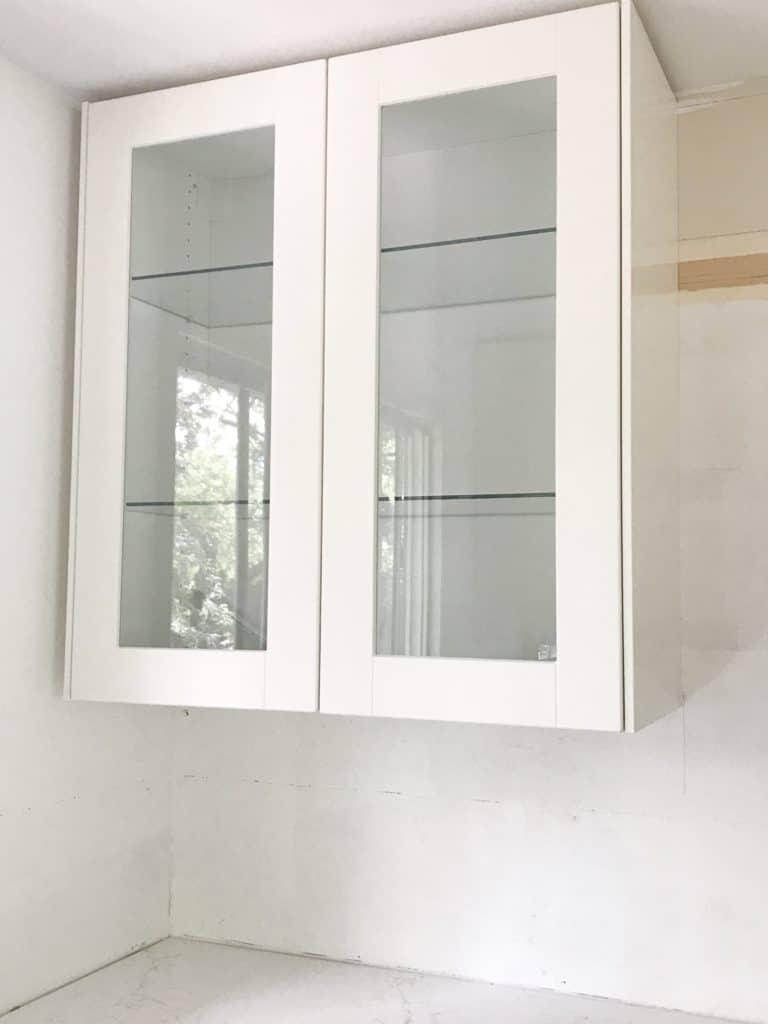
Next, shelving and cabinet doors were installed and our kitchen was finally starting to look real.
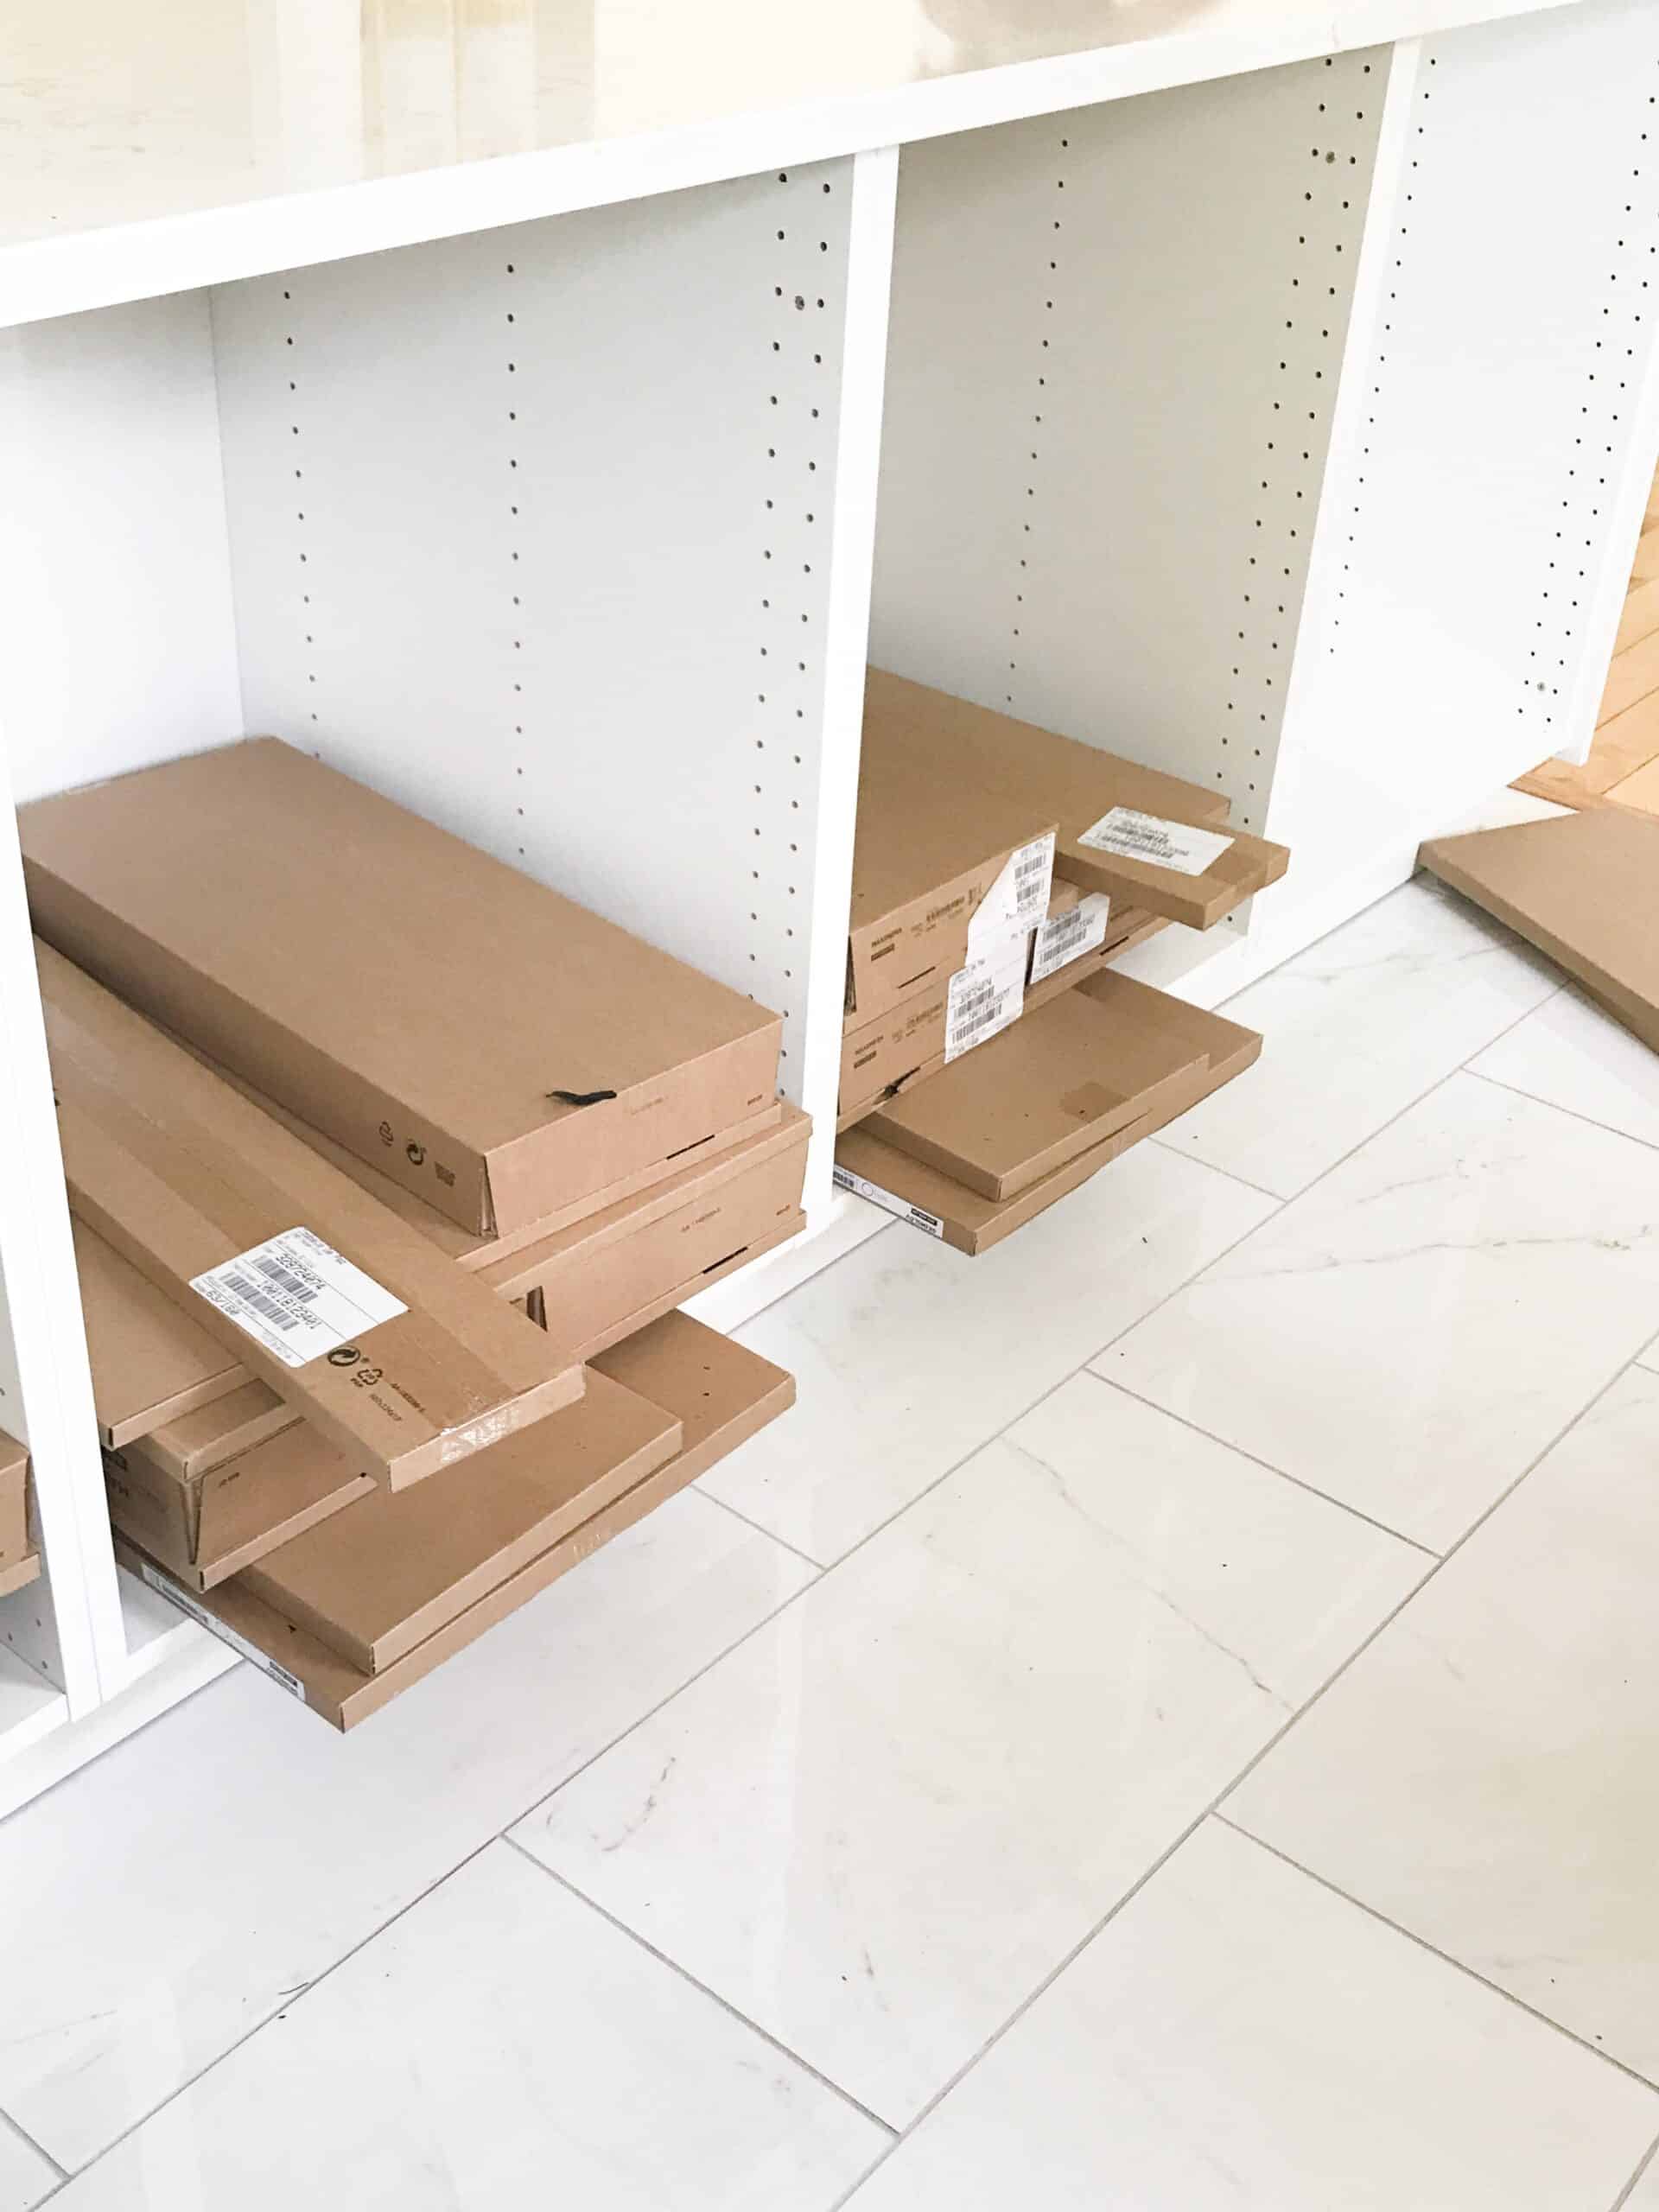
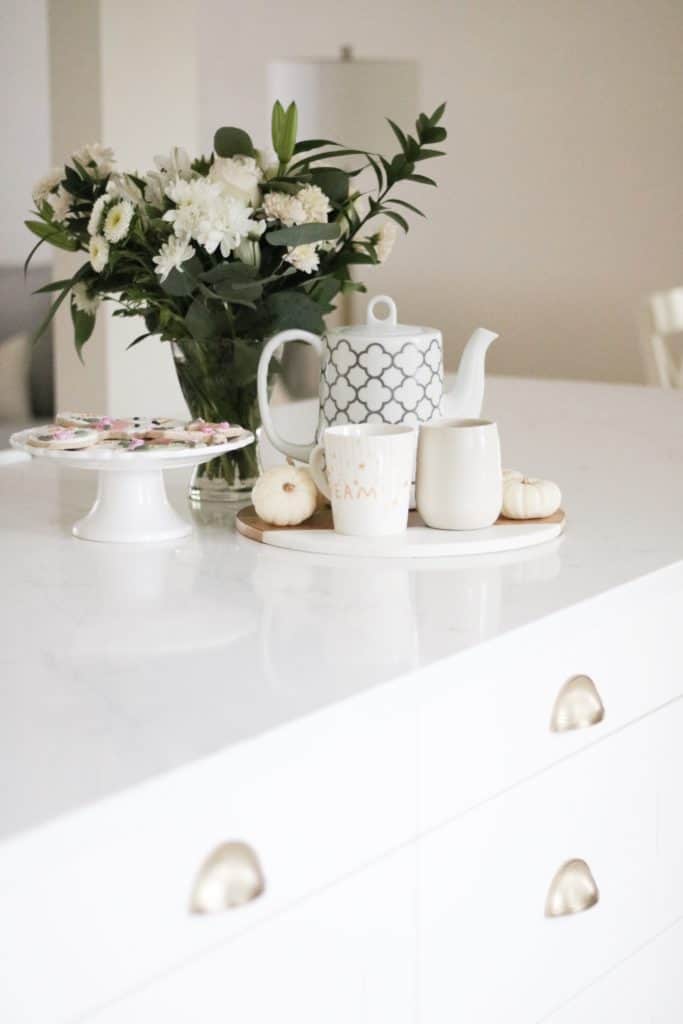
One of the things that your IKEA Kitchen expert will help you with is determining how many finishing/filler pieces and toe kicks you’ll need to complete your project. What are the finishing pieces exactly? They are a glossier piece of MDF wood that is secured to the exposed sides of cabinetry to cover the gap from the wall and the back of the cabinet. They’ll also cover the exposed sides of your island and the inner portion of your island where your bar stools are.
In a perfect world, the dimensions of your kitchen will match up perfectly to the available sizes of IKEA cabinets. In our case, we had parts that were too small to add a cabinet and therefore needed filler pieces to close the gaps. We also used them in those spaces between cabinets and walls to fill up the space and have a more cohesive look. The toe kicks are also installed at this stage and it’s important to remember to factor in the toe kick in areas where you plan to fill a gap.


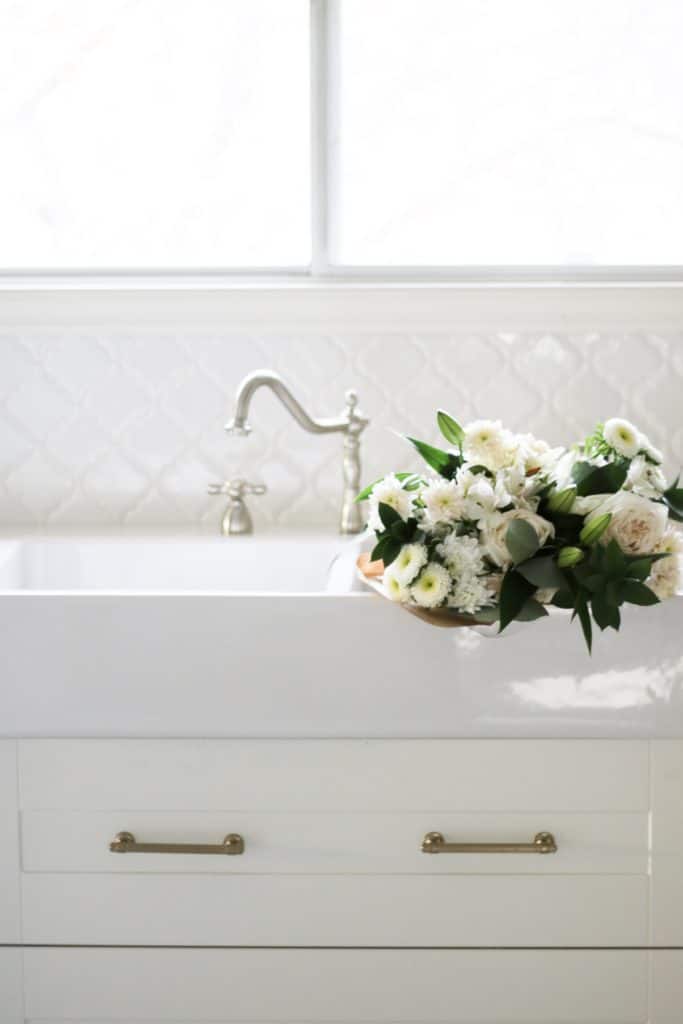
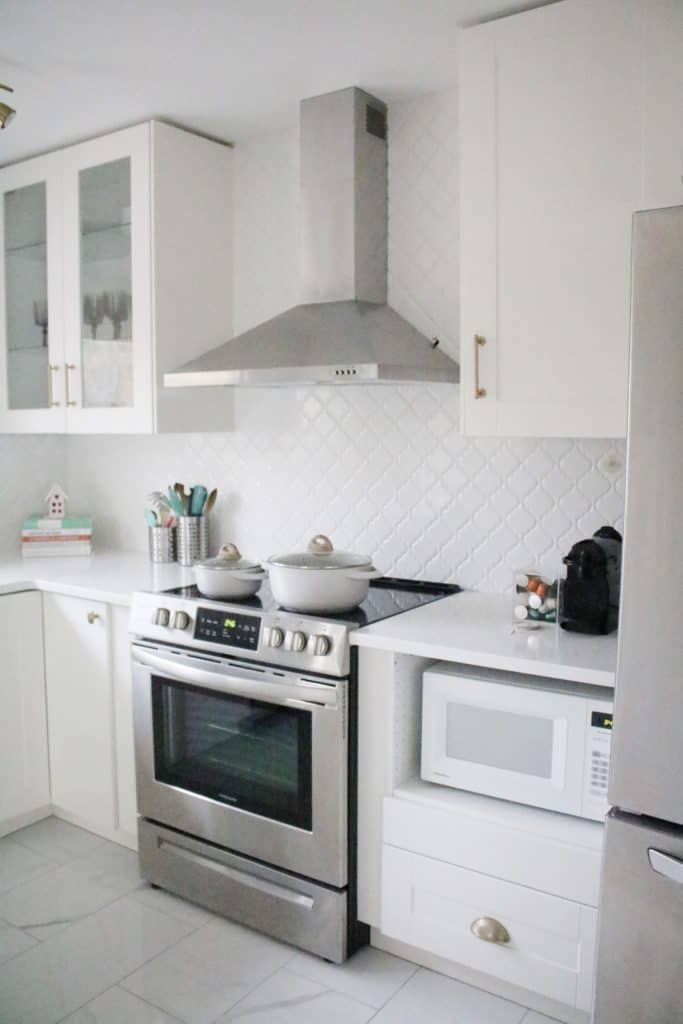
Finally, your IKEA Kitchen expert will give you parts to stabilize the tops of your cabinets so that they can sustain the weight of the countertops if you decide to go with a stone feature. Depending on what type of sink you choose, you may have to wait until your counters are installed before your sink can be. This was the case in our situation, as our farmhouse sink sits on top of our counters.
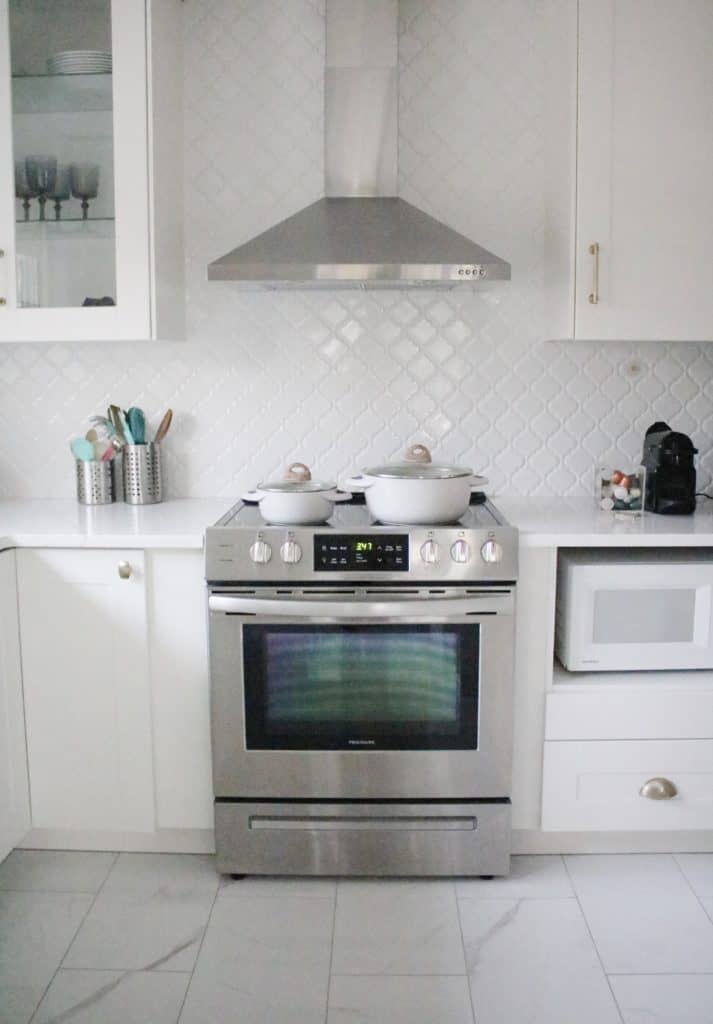
Our hood fan was installed after the tile had set and for that, we hired a contractor to complete the job. After my husband experienced drilling into our tile floors, he felt that the right thing to do was to call in a contractor to do the installation with our delicate backsplash in mind. Once that checklist was done, all we had left to do was install our handles and knobs and then friends, we did it! Our dream kitchen was complete!


I want to give a huge shout out to my husband, who went from a traditional IKEA furniture assembler, to a FULL ON kitchen installer. He spent many hours outside of work to focus on the kitchen so that we wouldn’t have to keep cooking like a bunch of college kids on a hot plate LOL! It was an unforgettable experience (good and challenging in some ways!) and I am incredibly grateful I get to wake up everyday and walk into this kitchen I only ever dreamed would be mine!
As for the grand total? Our Ikea bill came to about $7000 for all of the cabinets, door fronts, sink, hood fan, bar stools and kitchen table chairs. We purchased our quartz counter tops from a local supplier and I ordered all of my hardware on Wayfair.
I hope that this series helps you in your journey of building a kitchen with IKEA and that it inspires you to create a beautiful living space that’s classic and cost effective. I highly recommend timing your IKEA Kitchen purchase around a Kitchen Event, which generally happens a couple times a year, as you’ll get the most bang for your buck this way.
Thank you so much for following along!
This post is sponsored by IKEA Canada, all opinions are my own.