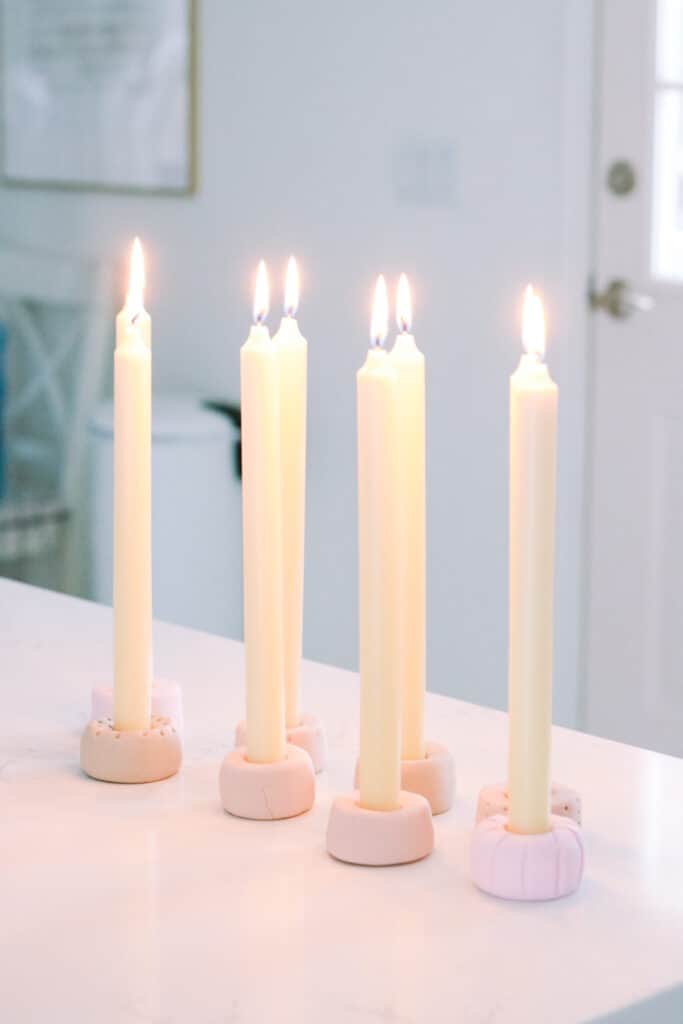
DIY Polymer Clay Candle Stick Holders
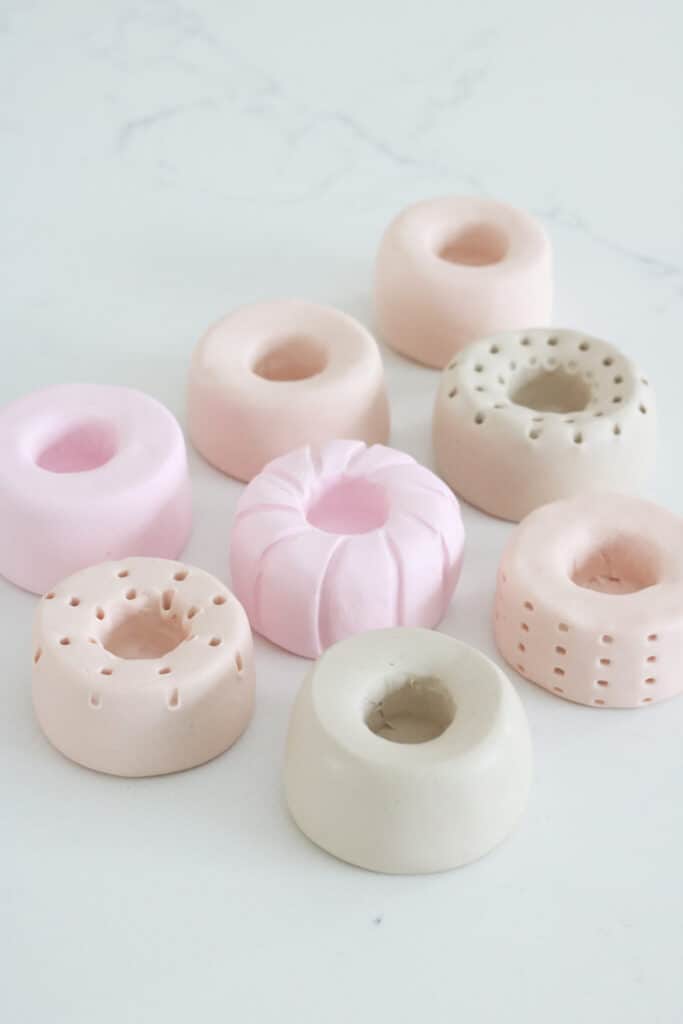
These DIY polymer clay candle stick holder are a fun weekend project that you can do with your kids!
I’m not the biggest DIY person, but every now and again I’ll get inspired to create something fun. I’ve been seeing so many beautiful things being created with polymer clay as of late and thought I’d get in on the trend. Enter these super cute candle stick holders!
Taper candles have made a come back in the last couple of years and I have been loving the ambience it gives at the dinner table. My kids of course love taking turns lighting them now that we’ve got this handy dandy new contraption!
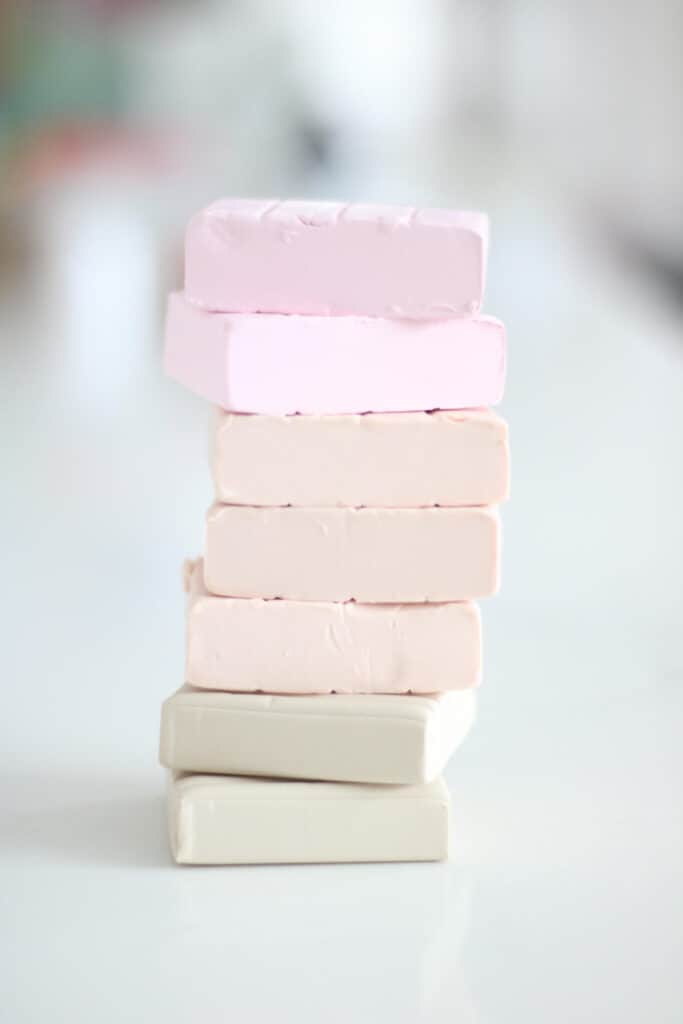
There are many different brands of polymer clay you can purchase but I advise trying to find the FIMO or Sculpey brand as those two seem to hold their shape and not crack during the baking time. All brands will have different baking temperature recommendations so I just took an average of the ones I was using to make sure I wasn’t over/under baking them.
Step 1: Knead The Polymer Clay
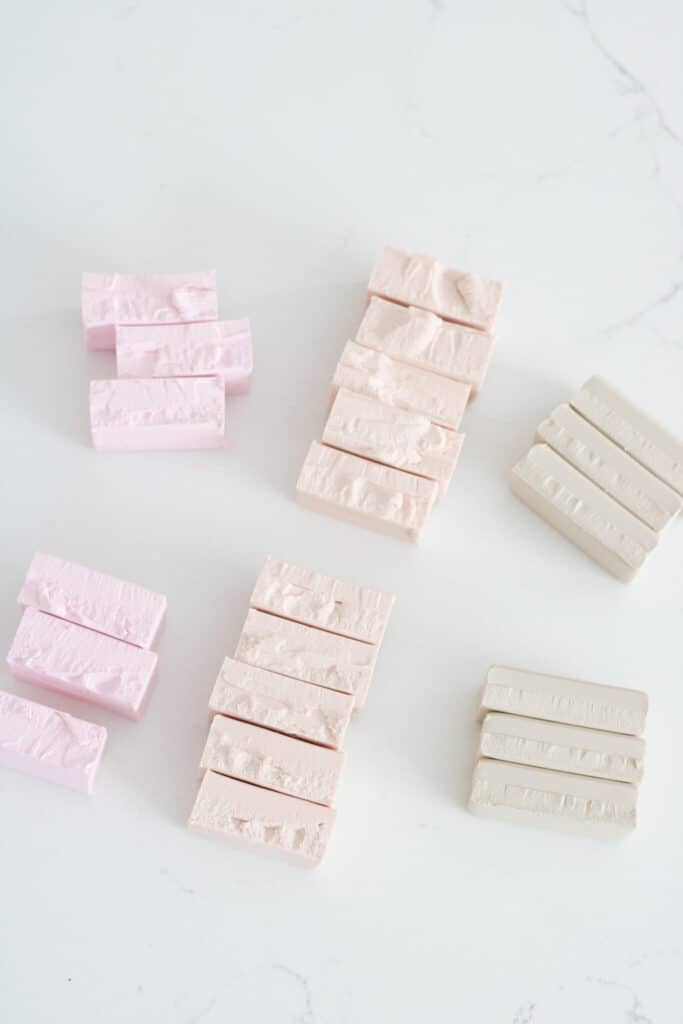
Polymer clay is quite firm to the touch so it will require a bit of time to knead and soften in your hands. I found each little brick took about 10 minutes to get to the right consistency to shape. My hot tip is to break the brick into smaller pieces and use the warmth of your hands to get it soft while you press it. Then take all of your softened pieces and put them together to be shaped!
Step 2: Creating Your Candle Holder
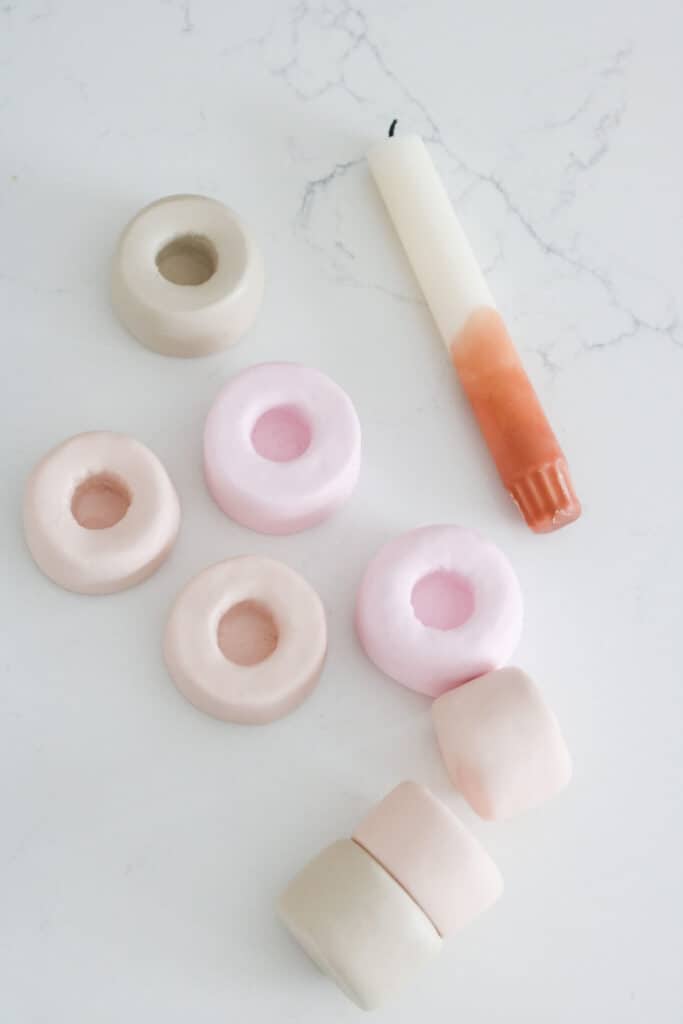
This part is where your imagination comes alive! There are so many great ideas out there for designing your candle stick holders. I decided to go with something simple and classic for my first go at them so mine are a low cylinder style. For each holder, I used one and a half bricks to get the size I wanted. I started by shaping them into a ball and then gently flattening them to create the cylinder shape. For some of the candle holders I used a fork to poke holes into the polymer clay and for others I used the back of a knife to create some indents. The possibilities are endless! To make the candle stick indentations I simply pressed an actual candle stick into the clay and wiggled it around to widen it slightly. Polymer clay will shrink slightly while curing so you want the indentation to be a little bigger than the candle itself.
Step 3: Bake Your Creations
As mentioned above, I preheated my oven to a temperature that averaged the mid temperature each brand of polymer clay could handle. The general instructions are to bake for 15-30 minutes for every 1/4″ of polymer clay. This meant I baked mine for about 50 minutes as my candle holders were about 1″ in thickness. I placed my candle holders on a baking sheet with a piece of parchment paper on it. It’s always best to bake low and slow so as not to over bake and accidentally change the colour of the clay. Remove from the oven and allow to cool completely before using.
I hope this post inspires you to get crafty and create something beautiful and unique for your home! Happy DIY-ing!
