Casa Cake Mama: Building Our Dream Kitchen with IKEA - Part 2
I think it’s pretty safe to say that nearly everyone at one point has assembled a piece of IKEA furniture, however, it’s likely not everyone has sorted and assembled 160 pieces of IKEA furniture in the span of 2 weeks! On part 2 of building our dream kitchen with IKEA, I’m going to share how it arrived, how we organized the parts and how easy it was to assemble the cabinets!
When we put our order through we were still living in Langley but had possession of our house in Kelowna. During the week period between possession date and move in date, we had our contractor do all the demolition in the kitchen so that we wouldn’t have to be around for the bulk of it. In classic renovation form though, about the only thing that was completed before we moved in was the removal of the walls and drywalling LOL so we had a lot of work yet to do before our actual kitchen could be installed.
Unfortunately this meant we had to live through the removal of the floor tiles which wasn’t an easy job. Turns out, the sub flooring was glued AND stapled a million times so our contractor had to manually pull out staples before levelling the floor. You could just hear the money draining from our bank account LOL! In the end though, we ended up with these beautiful porcelain marble tiled floors that are worth every penny and lend to a beautifully neutral palette for our kitchen.
Shipping Your Kitchen
At our meeting with our kitchen expert we were pretty stoked to learn that our entire kitchen would arrive in as little as a week! When our delivery date rolled around, I received a couple of automated phone calls and text messages to notify me that our kitchen was out for delivery. This is especially handy since they usually give you a wide delivery window, so knowing they were about 30 minutes to an hour away from delivering helped us plan our day to make sure we were home.

Our IKEA kitchen arrived on a weekend (KUDOS to IKEA for delivering 7 days a week!) and the delivery company carefully unloaded all of our boxes into our garage. It’s important to keep count of all the items that get delivered so that you ensure you’re not missing a piece. The delivery guys also keep count as they’re loading and unloading so it does end up being a team effort to ensure you’ve got it all.
Organizing The Boxes
What better way to organize all of the pieces of your kitchen than to set it up just like the self serve warehouse in IKEA?! I can’t stress enough how much easier it will make your assembly process when you do this.

It took a little bit of time to separate and stack item numbers that matched, but by the end of it I nearly memorized the names and numbers of items and knew what went where which helped HUGE when it came to picking the parts to assemble. SEKTION, GRIMSLÖV, FORBATTRA…words that were swirling around in my head day in and day out LOL.


When you finish your order with a kitchen expert at an IKEA, they send you home with a folder of your kitchen layout with each cabinet numbered. This sheet corresponds with the pick list that is also numbered and gives you the items required to assemble a particular piece. This is why organizing all of your boxes before hand ensures that you pick the right parts for a particular cabinet but also allows you to identify any missing pieces or wrong item numbers. This happened to us twice where we were sent two items that did not match what we needed. Fortunately, I had plans to head back to the coast for work and brought those items to exchange. If you’re out of town like we are, you can simply call the IKEA Kitchen department and arrange to have them shipped back and the correct parts shipped in return.
Assembling The Cabinets
Once your boxes are all organized, you can then start assembling some cabinets! My husband and I split the work where I focused on assembling all the wall cabinets and he assembled the base cabinets. Hot tip when working with your spouse - LOL - divide and conquer! This made the job go by a lot quicker as we weren’t fighting over tools because we were assembling the same pieces. By about the second cabinet, it was safe to say that both of us were experts in assembling that we no longer needed to look at the instructions! It was really that easy!
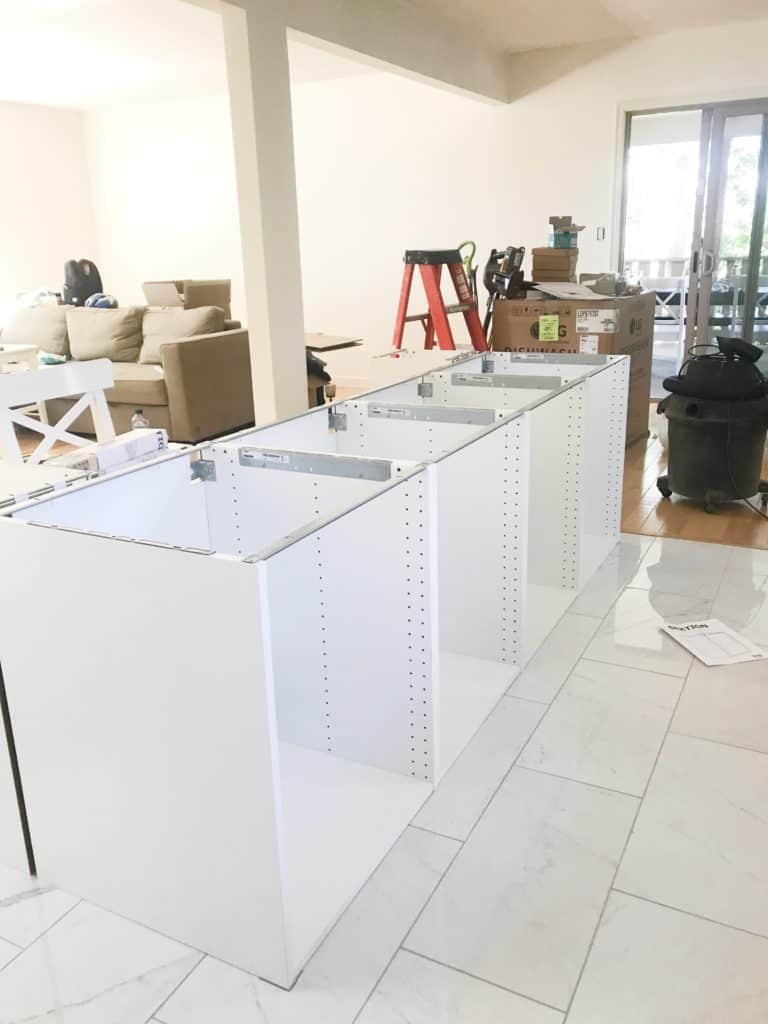
The best part for this portion of assembly is that you literally only need a hammer and a screwdriver (no Allan keys for this job!) which never ceases to amaze me. In case you’re wondering about the quality of the cabinetry, its very sturdy, though, you should take care in preparing it on a soft surface so that it doesn’t scratch. The cabinets are lightweight too, making it easy to move them around without breaking your back.
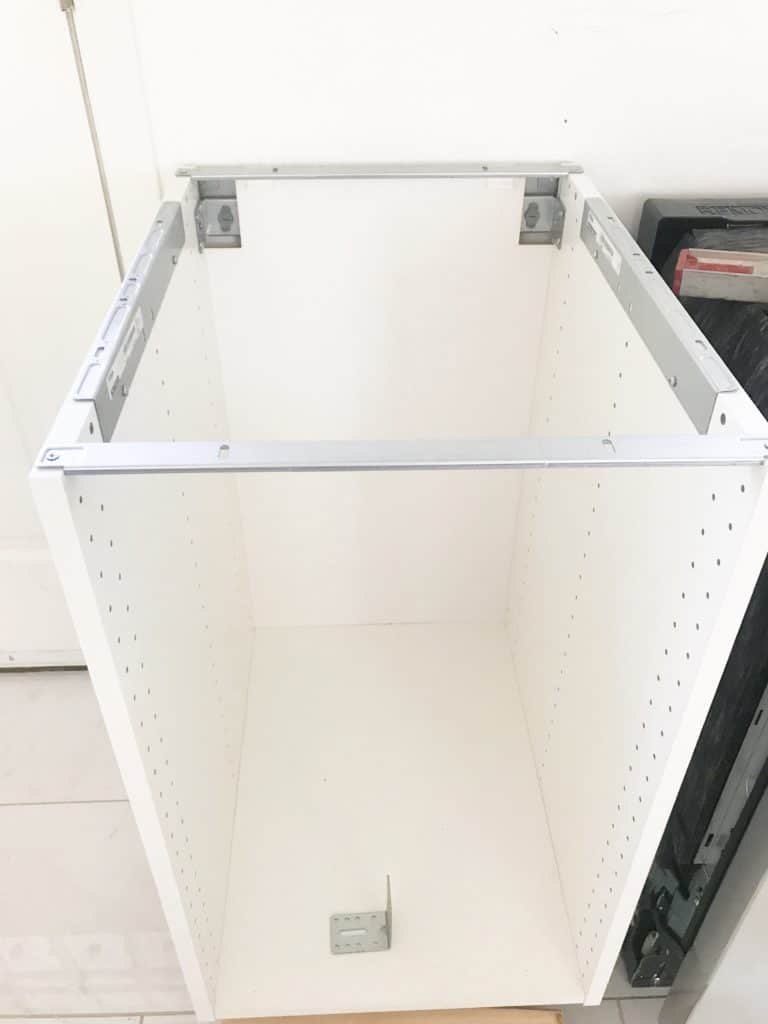
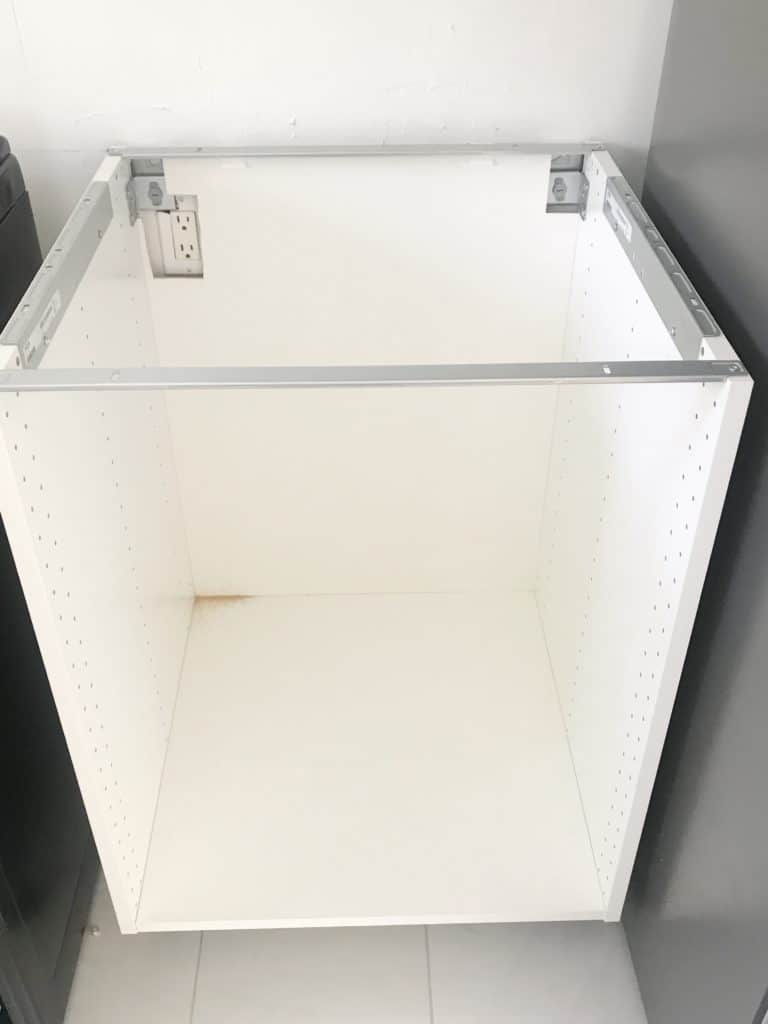
To start, I recommend only assembling the frame of the cabinet and leave things like shelves and doors for when they’re actually mounted on the wall. This makes them much lighter to move around and again, if you’ve made an error in ordering and realize that the size you thought you needed is wrong, (whoops, it totally happened!) You haven’t then opened up a bunch of boxes only to have to return them all. IKEA accepts pre-assembled furniture as long as it’s in sellable condition!
You can watch our journey through the kitchen renovation through my Instagram highlights!
Now that you’ve got all of the cabinets assembled, it’s time to install! Click here for the final blog post in this series where we share how we installed our cabinets, secured our island and added the finishing pieces to make this dream kitchen a reality!
This post is sponsored by IKEA Canada, all opinions are my own.