Vegan Gingerbread for Houses & Cookies

The wait is over my friends! My vegan gingerbread recipe is all yours for the baking! As much as I really wanted to create some cute kits for you to purchase with the house already baked and ready to decorate, time was just not on my side 🙁
Fortunately everything you need to create the most adorable gingerbread house à la Team Jilly! It was such a pleasure to teach this incredibly talented, genuine and sweet group of ladies who honestly needed very little direction when it came to creating their very own house!
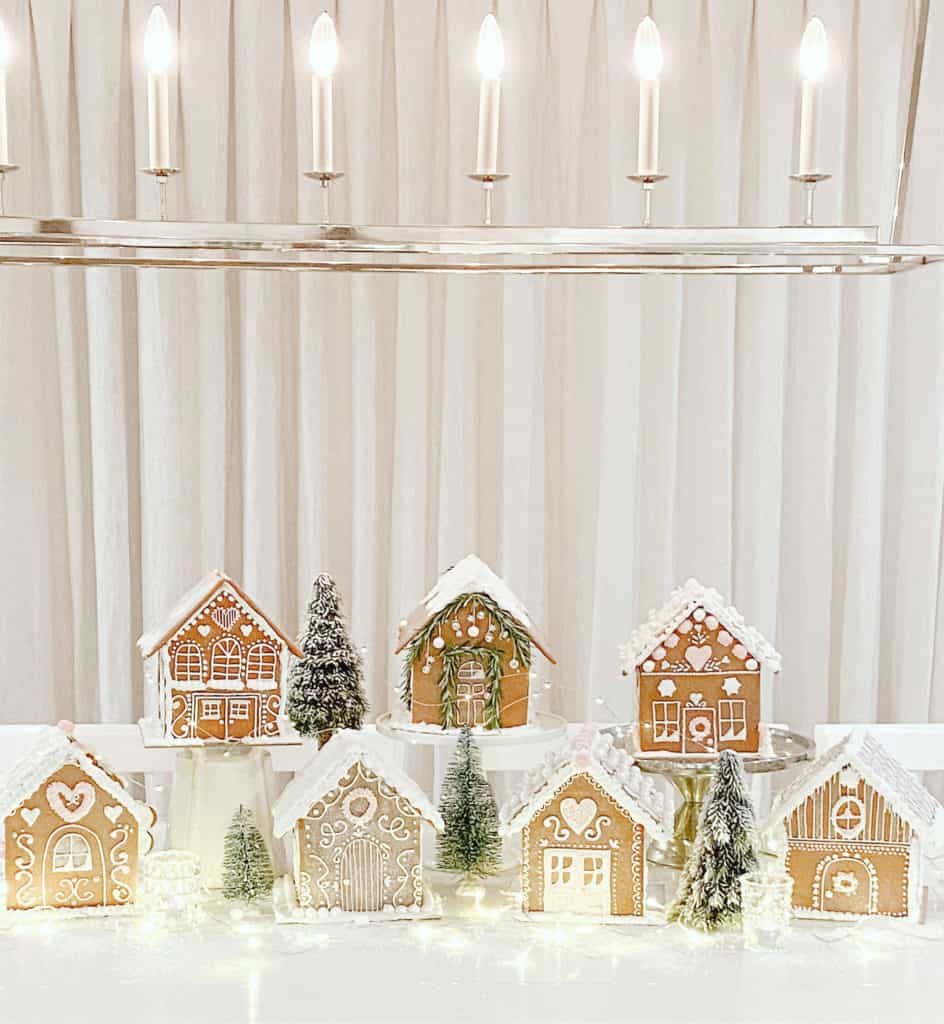
The recipe I'm about to share is one of my favourites for this time of year. No matter what you do, it comes out as such a soft bite cookie! This being said, you may want to leave your gingerbread house pieces out to fully dry and harden slightly before you begin to decorate and subsequently assemble.
A few key tips to help you bake successfully:
- roll dough a minimum of 1/4" thick so that it doubles in size and makes for sturdy house pieces
- roll dough directly onto silpat or parchment that you intend to pop in the oven, then cut out with template and pull away excess dough, this will ensure that your pieces don't warp when you try to lift and transfer onto your cookie sheet!
- after baking, allow pieces to cool completely before lifting off the cookie sheet- because these pieces are large, you don't want to run the risk of it breaking!
- prepare pieces the night before you plan to decorate, and don't cover them up or put into an airtight container if you're making the house- these pieces need to "dry out" slightly to ensure they don't break when you assemble them!
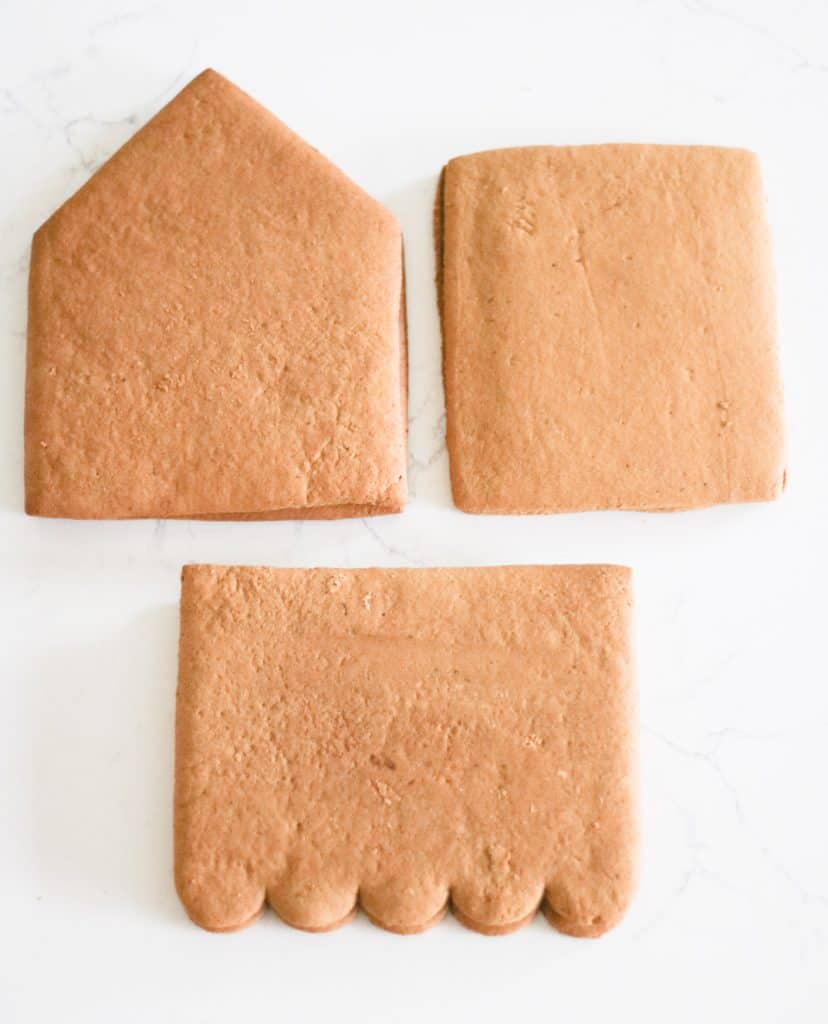
Once your cookies have cooled and you're ready to decorate, you can prepare your royal icing recipe. The two consistencies you're going to want to work with are stiff and outline. If you're not sure what that looks like, you can watch this video to get a better understanding!
It's best to decorate each side first prior to assembling. This way you have much more control over the design and you're not trying to decorate upright walls, LOL. The possibilities are endless! You can flood the entire gingerbread house the same way you would a sugar cookie like I did here or you can go more traditional like Jillian Harris did below!

Here are the following items we used to decorate the houses with:
- tipless piping bags
- wilton #21 tip (for borders)
- bag clips
- scriber
- gum balls (white)
- bon bons (pink)
- americolor food gel in soft pink
- 8 x 8" cake board
The sides of the houses were decorated with a outline consistency royal icing using a tipless piping bag cut to the desired size. The borders were made using a #21 open star tip in a seashell design. Step by step instructions can be found here.
Once all sides of the house are dry, you can start assembling! Begin by affixing some stiff royal icing to the back side of the front piece. Line the bottom and either side where the sides will connect. Place this on the cake board and with your other hand, pipe a line perpendicular to the front on one side so you can secure one side and free up the other hand. Your house should be 25% built! From there affix the other side and repeat the first step with the back of the house.
From here, if you want, you should seashell pipe all of the seams (bottom and sides) to clean up the edges of the house. Allow this to dry for at least 20 minutes before affixing the roof. Once dry, use stiff icing once again to pipe the points of the front and back of the house. Simultaneously attach each side of the roof and hold in place for a few mins. Use the stiff icing with the star tip to pipe the siding and the roof top and affix the candy as well! You can watch a video of this process here!
Here is the piping template, hand cut template and recipe!
Vegan Gingerbread
Ingredients
Gingerbread
- 1/2 cup vegan butter
- 1/2 cup brown sugar
- 1/2 cup white sugar
- 3/4 cup fancy molasses
- 2 flax egg, 1 tbsp ground flax, 3 tbsp warm water
- 1 tbsp vanilla
- 2 tsp baking soda
- 1/2 tbsp ground ginger
- 1/2 tbsp ground cinnamon
- 1/2 tsp nutmeg
- 3 1/2 cups all purpose flour
- water, 1 tbsp at a time if necessary to hold dough together
Royal Icing
- 1 can chickpeas for aquafaba,, use water from a can of chickpeas
- 1 tbsp cream of tartar
- 1-2 2kg bags icing sugar
- 1 tsp vanilla extract,, preferably Mexican vanilla
- bright white food color,, to whiten
Instructions
Cookies
- Preheat oven to 350*F
- Cream butter and sugars in a mixer with the paddle attachment, then add vanilla.
- In a small bowl, prepare flax egg and allow to thicken for a few minutes.
- In a separate bowl combine all dry ingredients.
- Add flax egg to wet ingredients and combine well. Add molasses.
- Gradually add flour mixture to wet ingredients. If mixture is too sticky, add a little more flour about 1/4c at a time. If mixture is too dry, add water about 1 tbsp at a time.
- Transfer dough between two pieces of parchment. Cut dough, remove dough scraps and transfer parchment to a cookie sheet for baking.
- Repeat process for gingerbread house or cookies.
- Bake for 8-12 minutes or until edges are slightly darker. If your oven runs hot, start at 8 minutes!
- Allow to cool completely on cookie sheet before transfering.
- If making pieces for the house, prepare house one day prior to decorating to allow cookies to crisp and become more sturdy.
Royal Icing
- Open one can of chickpeas (540ml) and strain liquid. Pour liquid into a mixer with paddle attachment and add cream of tartar.
- Whip aquafaba on high for about 10 minutes or until mixture has quadrupled in volume and resembles a meringue.
- Bring speed down to stir, add vanilla, white food color and slowly add icing sugar.
- Mixture should be completely stiff- add water 1 tbsp at a time to create a stiff peak consistency. Your icing is ready!
- From here, portion out icing about 1 cup and gradually add 1/4 tsp of water until mixture is at desired consistency. Refer to Royal Icing Consistency 101 video link in post!
Nutrition Information:
Serving Size: 1 gramsAmount Per Serving: Unsaturated Fat: 0g
This post contains affiliate links. This means I make a small commission from any links you purchase from- this helps keep this site running!